Borehole drilling in Kenya is a multi-step process that requires careful planning, permits, and expertise. Here’s a breakdown of the key stages involved to ensure a reliable water source:

Step 1: Hydrogeological Survey
A hydrogeological survey is essential for determining the ideal borehole location. This survey identifies the water-bearing underground rock (aquifer) and provides an estimate of its depth. It is important to note that the hydrogeological survey does not show the quantity or quality of water.
During this process, a qualified geologist employs various techniques to detect these aquifers:
Magnetic Survey: This technique uses specialized instruments to detect variations in the Earth’s magnetic field, caused by the presence of water bearing rocks.
Ground Penetrating Radar (GPR) Scanning: A GPR tool is used to scan for special features indicative of the presence of water bearing rocks, like fractures, cavities, or weak zones.
Electrical Resistivity: Known for its accuracy, this method utilizes measurements of electrical resistivity to determine the presence of water bearing rocks.
For the most reliable results, a combination of these methods, especially electrical resistivity, is recommended. After the survey, the geologist compiles a report, which you’ll need to obtain permits. Necessary documents include:
- Title Deed for the land
- National ID(s) or Certificate of Incorporation for companies
- KRA PIN Certificate
Step 2: WRA and NEMA Permits
Before drilling begins, you need permits from the Water Resources Authority (WRA) and NEMA. To obtain a WRA permit, submit the hydrogeological survey report along with a standard fee. You’ll also need a letter of no objection from your local water service provider, such as the Nairobi Water and Sewerage Company. These permits are crucial to proceed with the drilling phase. With all the necessary permits, borehole drilling can now begin.
Step 3: Borehole Construction
Borehole construction encompasses all steps from borehole drilling to water analysis. These are:
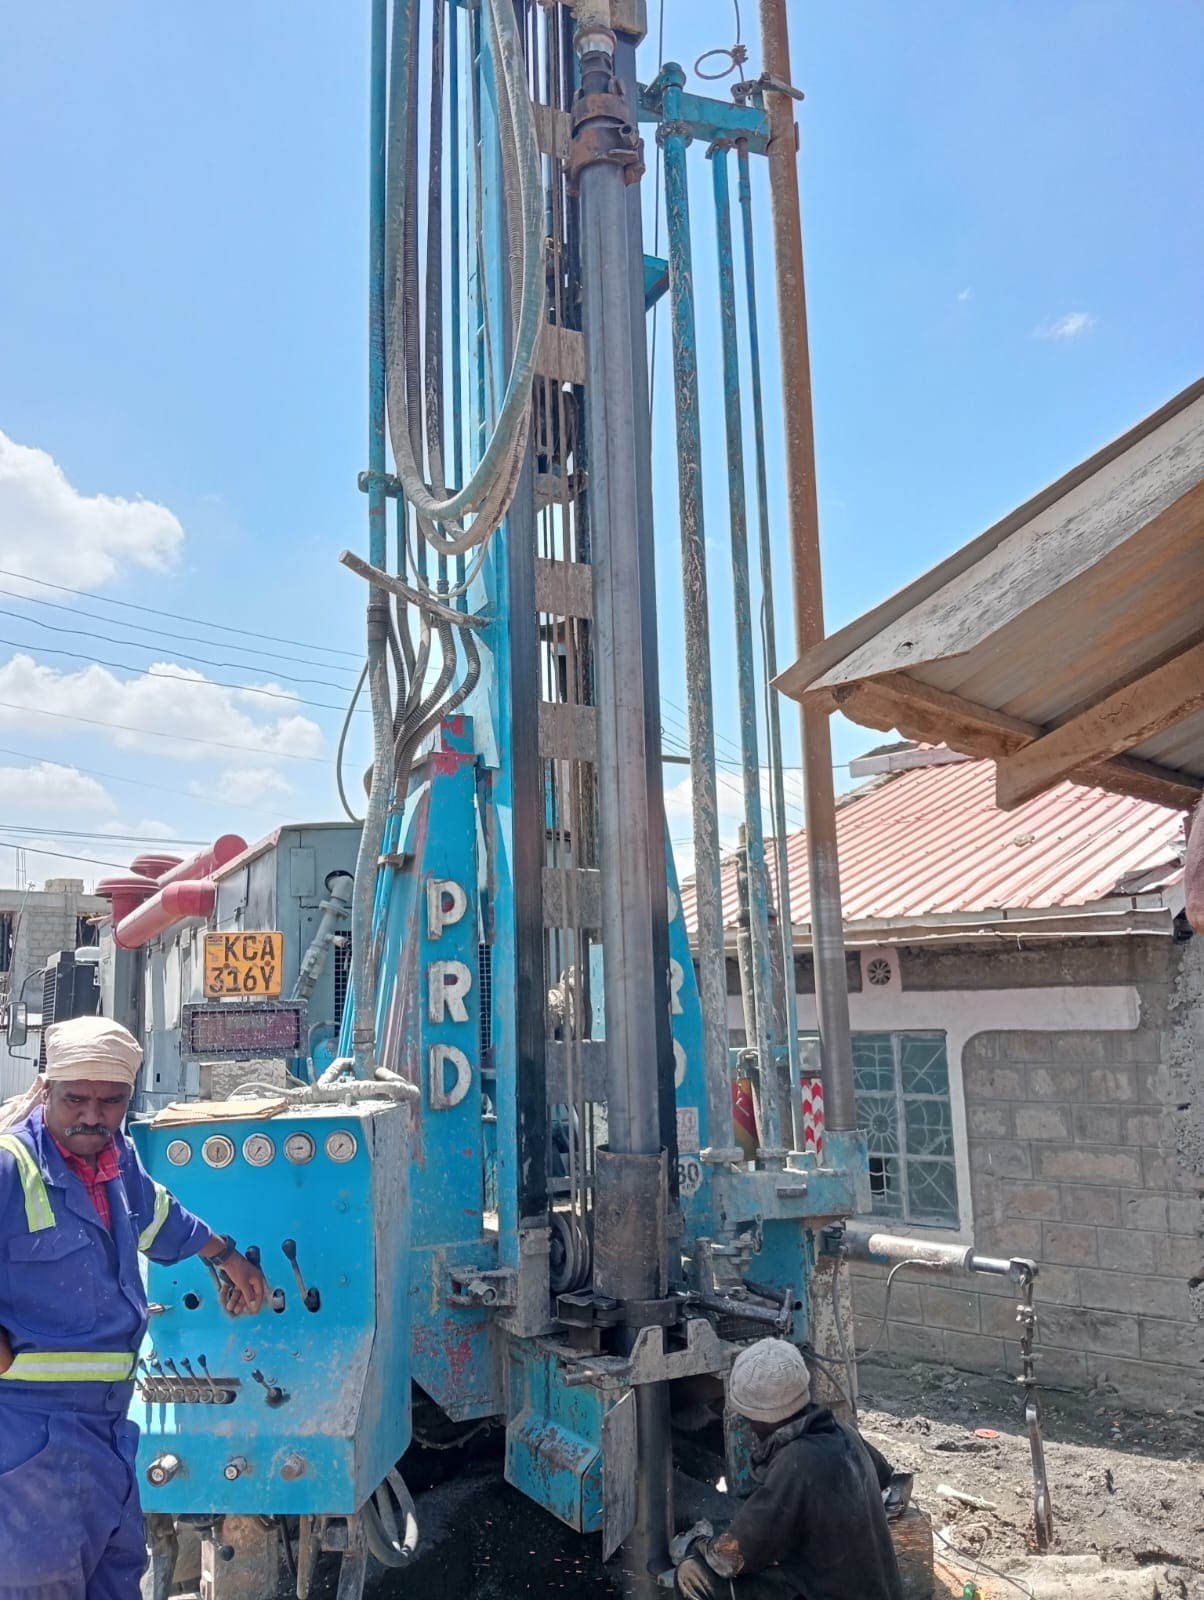
- Rig arrival and setting – The drilling rig arrives to site and is positioned at the marked drilling point. Ensure the point is easily accessible by the truck.
- Borehole drilling to specified depth – Drilling is done until recommended depth by geologist is reached.
- Casings installation – Permanent casings are installed. Can be 6-meter steel or 3-meter plastic casings.
- Gravel Packing – Gravel is installed into the borehole, between the casings and the open bore.
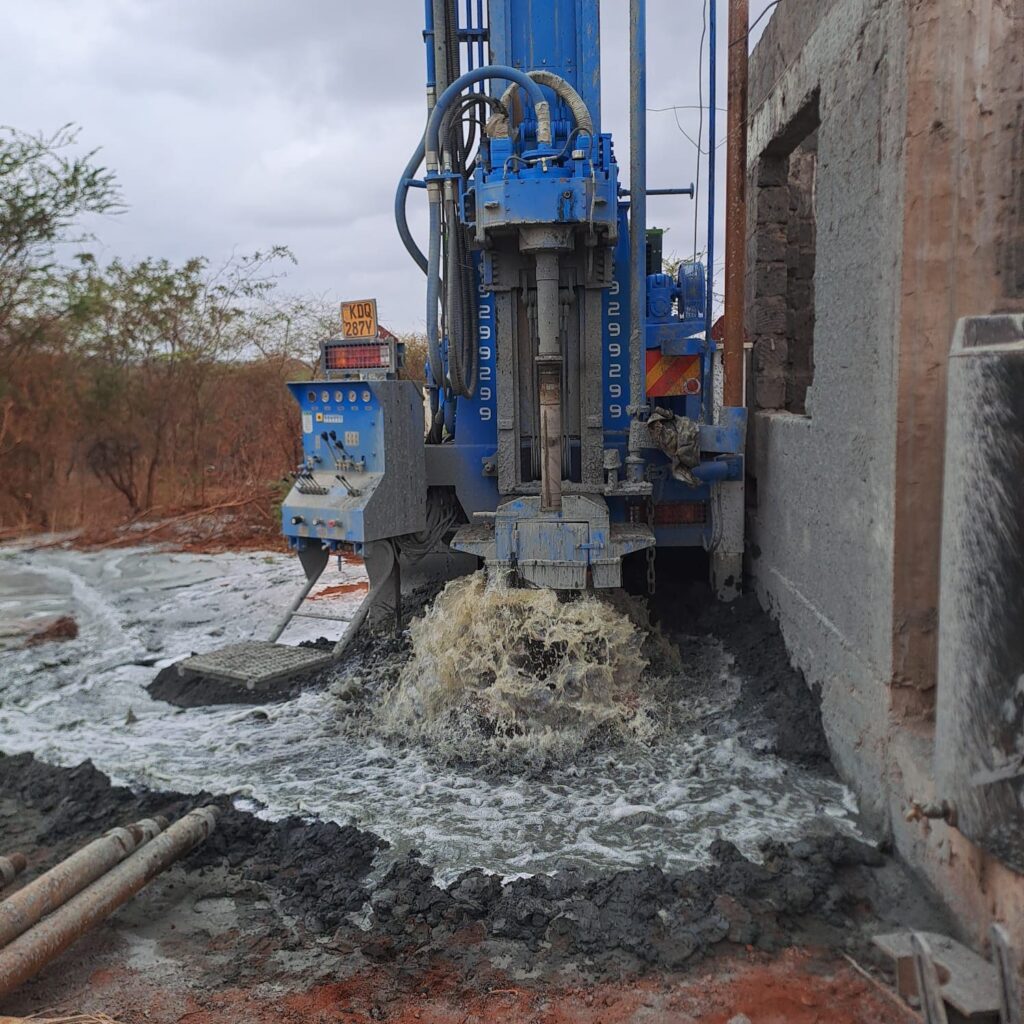
- Borehole development/flushing/cleaning – Dirt accumulated during entire drilling process is flushed out.
- Borehole capping – After borehole is flushed cleaned, it is sealed awaiting test pumping.

Step 4: Test Pumping
Test pumping helps determine the borehole’s potential in terms of yield – how much water can be abstracted from the borehole – as well as other parameters.
Continuous pumping is done for 24 hours, and afterwards a recover test done for one hour.
For an in-depth detail about test pumping, read more here.
Step 5: Water Analysis
During test pumping, water samples of the borehole are collected and later analyzed in a laboratory to assess their physical and chemical properties.
Water analysis determines whether treatment is necessary to ensure the water is safe for its intended use.
Find out more about water analysis and water treatment here.
What next after borehole drilling?
After the full scope of borehole drilling works is complete, the next step is pump installation. A pump suited to your borehole’s yield will ensure a steady water supply.
Read more about pump installation here.